
If you have the relevant upload privileges for MEDIALibrary, you can upload existing clips or live video that you capture with a webcam. The uploaded files are automatically re-encoded in various streaming formats and made available to library visitors.
Tip: To upload from a mobile device, see the unit called Using Mobile Devices.
Uploading a File
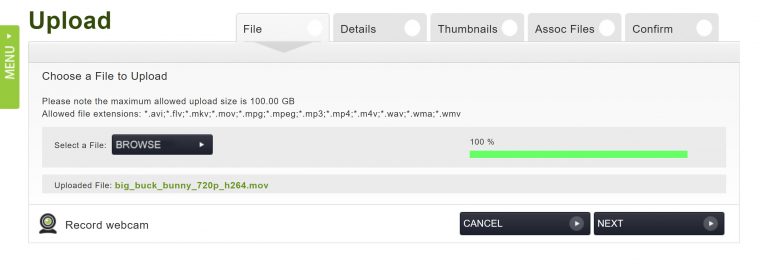
Select a file by clicking Upload on the site toolbar. The limit on the file size and the allowable file extensions (such as .mov for a QuickTime movie) are displayed. Click Browse to select the file from your file system. A progress bar appears while the media uploads. Once the upload completes, click Next to enter the clip details.
Recording a Live Feed
Record a live feed from a webcam connected to your computer by clicking Upload on the site toolbar. On the upload page, click Record webcam. Then choose to record video (with audio) or audio only.
When you are finished recording, click Stop to upload the media stream.
Details
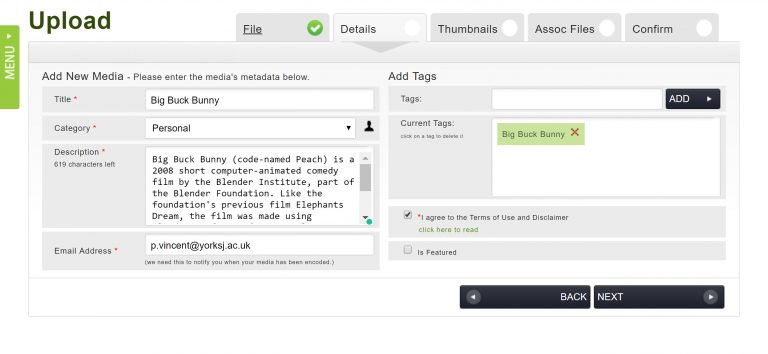
On the details screen of the upload wizard, you can add information for the clip.
Required Fields
The required fields are:
- Title
- Category
- Description
- Email address
- Disclaimer checkbox
Personal Category
The categories you can upload media to depend on the privileges the MEDIALibrary administrator assigned to your account. You will always have a personal category that contains only your media. You can select the personal category from the category list in the details page of the wizard.
For more information: The unit Distributing Media explains how to make your personal media publicly accessible to other MEDIALibrary users.
Thumbnails
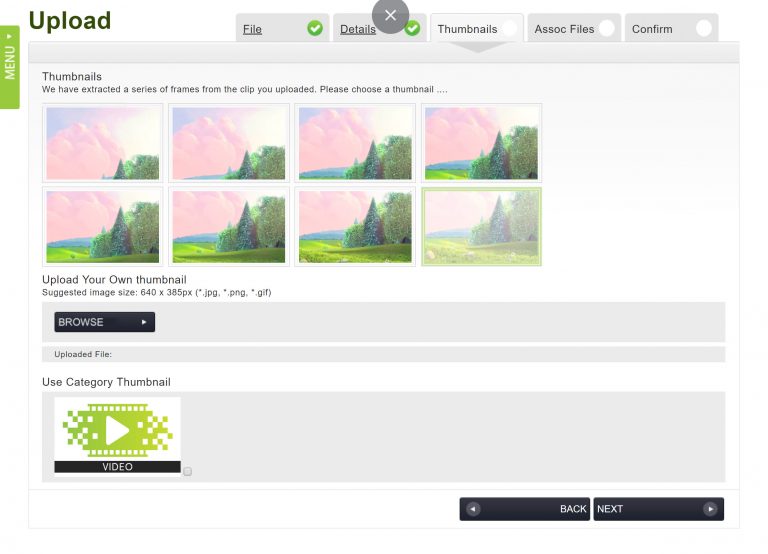
The thumbnails screen presents eight thumbnails extracted from the clip. Click a thumbnail to use it as the media preview in the library home page. If there is a category thumbnail, you can check that box to use that generic thumbnail instead. If the file is audio-only, an icon of a film reel is used in place of thumbnails.
Uploading an Image for the Thumbnail
You can upload an image to use as the thumbnail by clicking Upload Media. Images uploaded for thumbnails must be JPEG files (.jpg) at a size of 320 pixels wide by 204 pixels high.
Associated Files
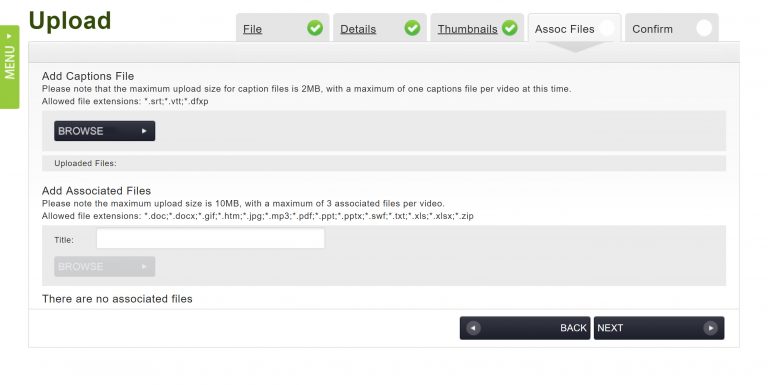
If the use of associated files has been enabled by the MEDIALibrary administrator, you can add a captions file and attach up to three additional files or URLs. If associated files are not supported, you will see the confirmation screen instead.
Captions Formats
Captions files can be added by clicking Browse. Captions must be of type .srt, .vtt, or .dfxp.
Attachment File Types
To add associated files, give the file an upload name and click Browse to select the file. The allowed file types are displayed above the title box.
Associated URLs
To add a URL, check the box and enter the URL. You can add a maximum of three files and/or URLs.
File Deletion
When a file has been uploaded, it will be listed below the browse box. You can delete it by checking the box and clicking Delete selected files.
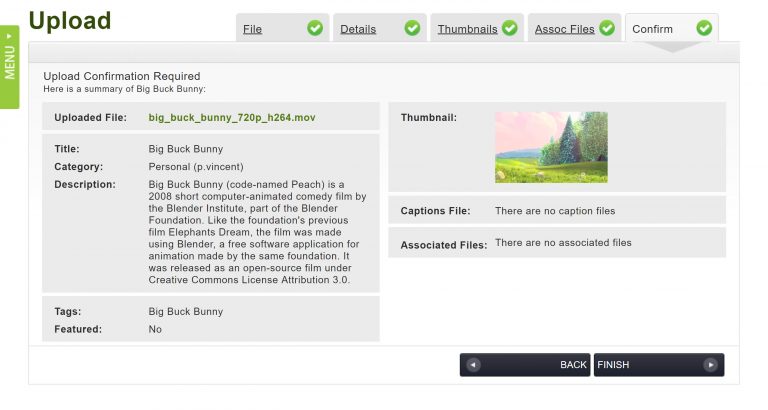
Upload Confirmation
The confirmation screen shows the clip details. If you need to change the upload properties, use the tabs at the top of the wizard. Once all of the information is correct, click Finish on the confirmation screen. This submits the clip to the encoder and takes you to your media content page, where you can preview the clip as well as manage your media uploads.
Tip: It may take MEDIALibrary several minutes to encode the file in the various streaming formats used to distribute the content to different devices. Your media content page indicates that the video has not been encoded until the encoding process has finished. If the encoding fails, you will receive an email explaining what to do.

Course Reviews
- MEDIALibrary
MEDIALibrary 5
MEDIALibrary allows academics and students to easily interact, engage and communicate with streaming content that works within Moodle.
Philip Vincent
10 Days of Twitter Online CourseGreat way to learn about Twitter 5
If you're not too confident about using the many different features in Twitter, this is an excellent course to work through. You can do it all in one go or do it bit by bit.
Jo Delgado
-

Add a note